I just bought a new kitchen island for my home at a garage sale two doors down from my home. Originally asking $150 and I get it for $50. Then, I bring this baby home and realize it’s a perfect match to my kitchen cabinets. Finally, it’s in the perfect location for natural sunlight PHooD Photography. WIN WIN WIN!
I love natural light photography but my home, which was built in the 70’s does not have the layout and does not allow me the luxury of shooting inside with natural light as often as I like so I use an off-camera flash and Octobox for my lighting needs in my home studio. However, because of this huge win I can now use my kitchen for some of my shots. This makes me so happy because being well versed in all types of lighting is so important.
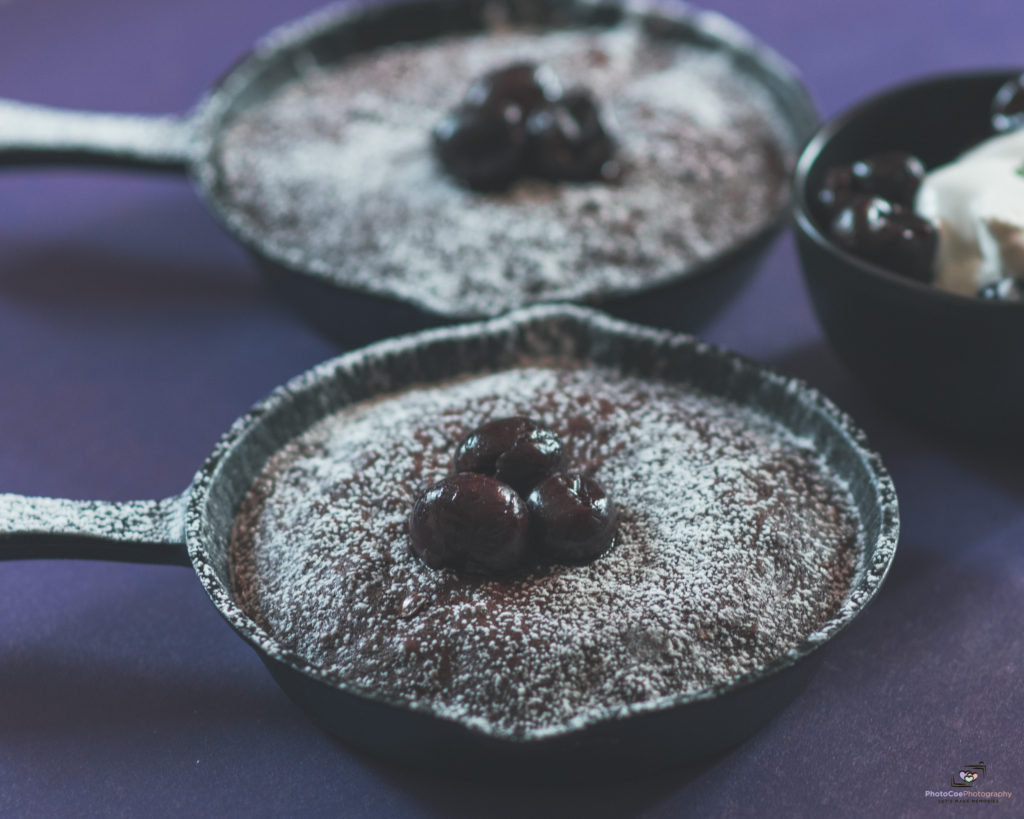
Today, I decided to make my homemade version of Brownies Jubilee using a box of brownie mix and frozen cherries, yes, my version of homemade…LOL. All good, it’s about the photography anyway.
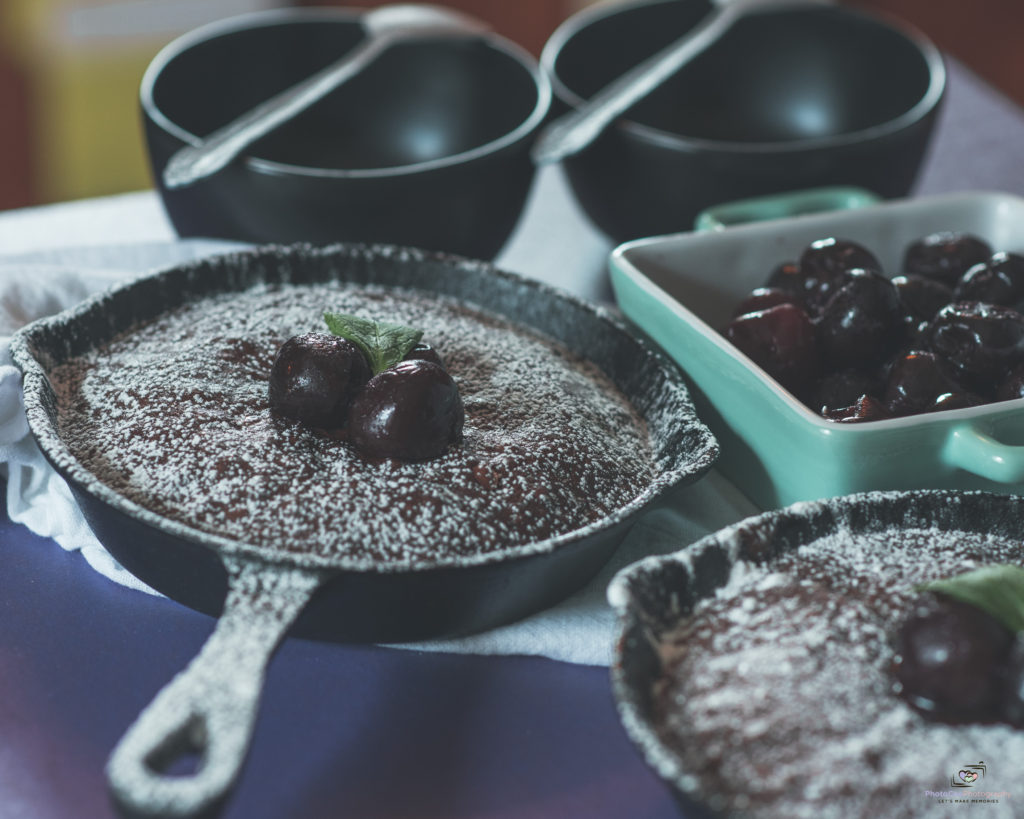
I used two mini cast iron pans purchased at Marshalls or TJ Max both favs, so I cannot recall this gem of a find, but you might even find them at Big Lots or Beall’s Outlet (keep it frugal).
Make the Brownies according to the box, I used 2 eggs for the cake version and split the mix in each cast iron pan. Defrost your cherries while the brownies cook. Once done, I let cool and set up my workstation.
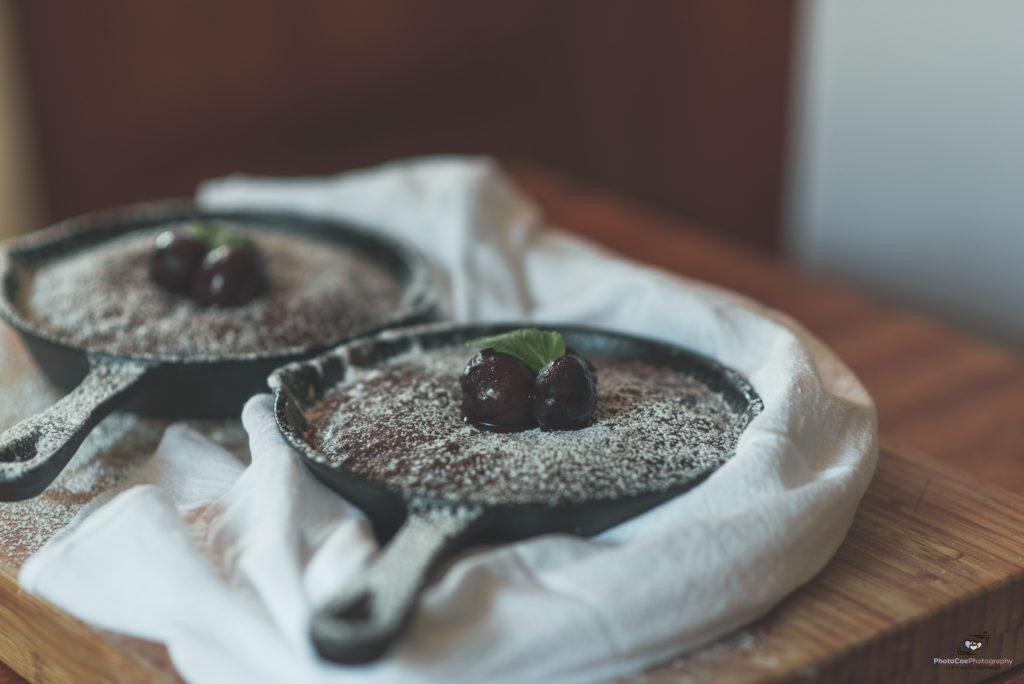
Start by keeping your area simple, less is more. I start off by having a few towel choices to add texture, a dish for my cherries, bowls and silverware painted in a matt finish, which I painted myself. You can as well, get your silverware at the dollar store and use some flat spray paint. Your choice of color(s), make a variety. It does not always have to be silver in color, have some fun. Mine are a matt blue gray but I plan on making some fun orange and berry colors for the summer months. Who cares, just have a good time but please keep them in a safe place so not to mix with your regular dinnerware.
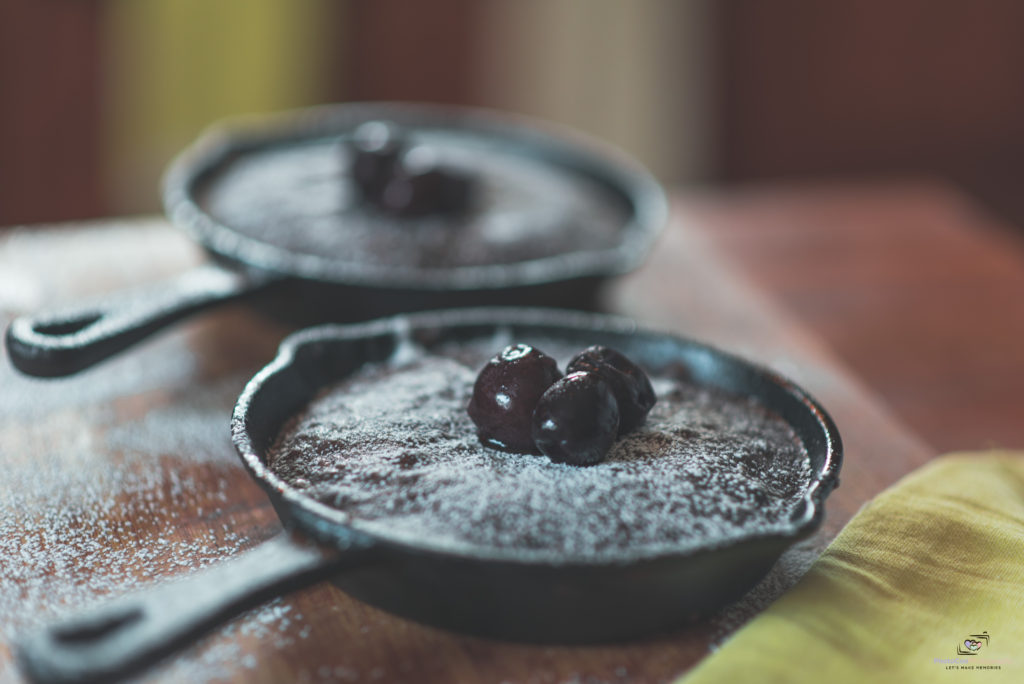
Now it’s time to set up your display. I like the light to come from behind and I stand at a 45% angle from where the light is coming in from. On the opposite side of the light, I have my foam core board, purchased from Dollar General. I use this to reflect the light coming in on the opposite side. If you want to have a more darker appearance, use black foam core board, which soaks up light, white reflects, black rejects. That’s how I remember this. Play with the board and take lots of photos. Then you choose a style for your dish. As mentioned, I went for a lighter side this time, but dark photos are a great mystery and I love to play with both styles.
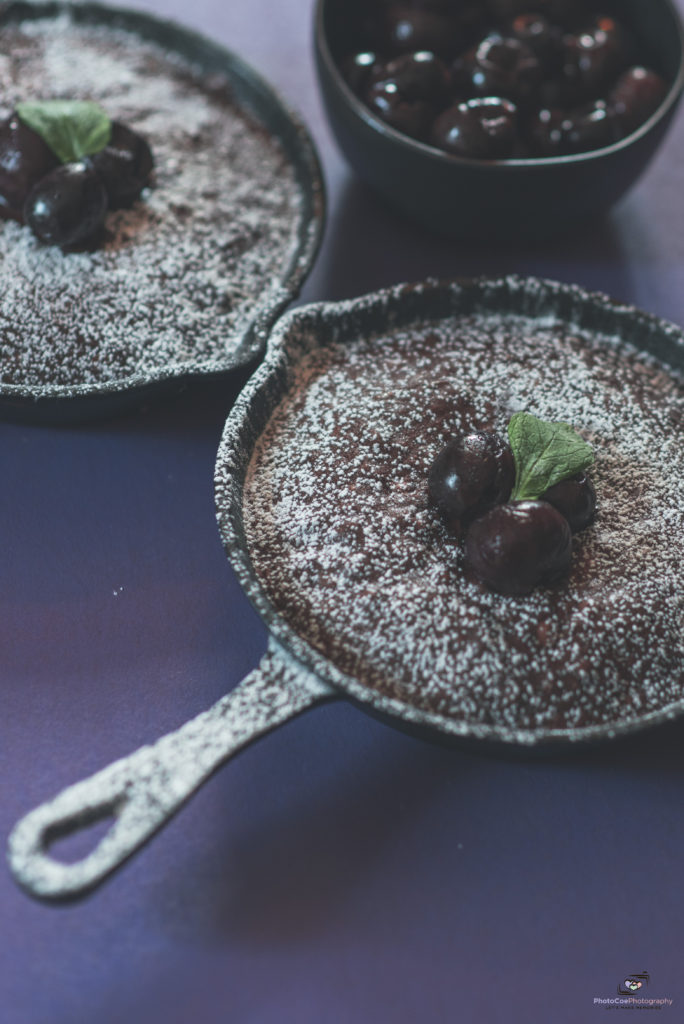
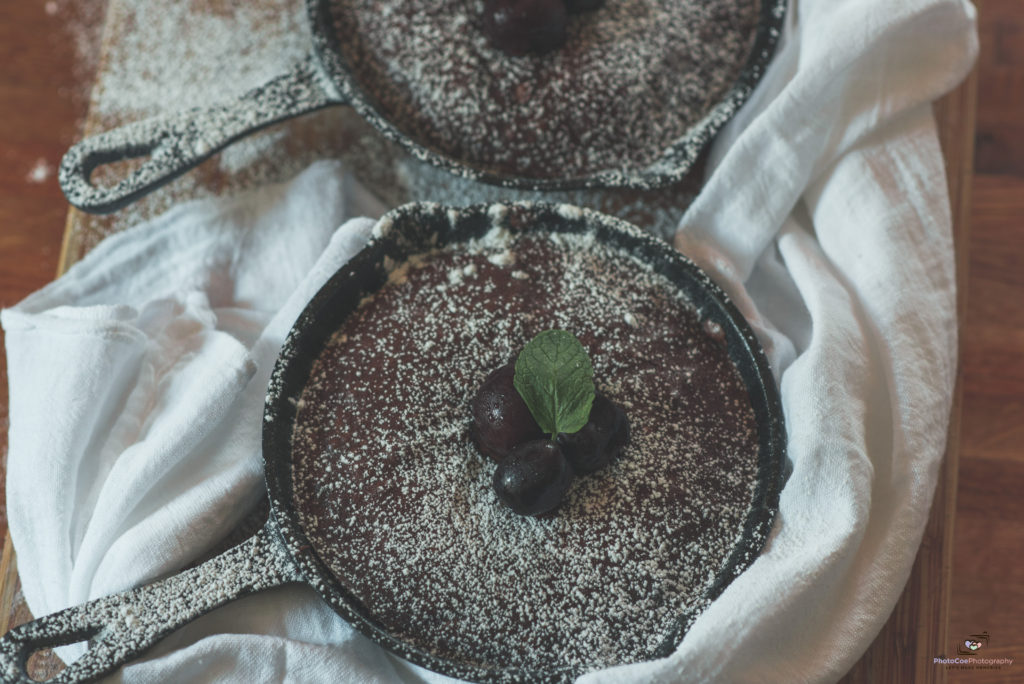
PHooD Remedy: Most of the photos I have taken in this series are at a 45% angle, but a few were over top also known as overlay. I have a tripod I typically use for these shots and sometimes a C-Stand. However, all hand held this time because I had plenty of light and did not have to worry about any camera shake or low shutter speeds. My aperture is low because I am in LOVE with the bokeh style shots and my ISO is set to 100 for zero noise/grain. Finally, in post I edit with a preset I found on line from a Food Photographer I follow who created this film like style. I then add my personal adjustments as I do with any presets used. I highly recommend watching Skyler Burt, We Eat Together videos on You Tube https://weeattogether.com. he has inspired me with his style, knowledge and he is easy on the eye as well, more wins for this gal!
Until next time, I am Tina Coe, and this is PHooD Photography with a PHD. Now, Let’s Make Memories….and EAT!